Friday, October 31, 2014

A Futurama Halloween

I made an evil eye glowing Bender Pumpkin!


This actually took place in 2012, but I wanted to post here since I'm proud of this little bit of craftsmanship!  I wanted to do something special when I carved my first pumpkin.  I had some friends over, toasted up the seeds and then found myself with a perfectly impressionable gourd to play with!

The silhouette is poked out from pinpricks.

There's the rotary tool in action!

The final piece, ready to be popped out!

I started that Friday night and worked away from the left side and drilled out the grill for the teeth, but by that time I was pretty worn out and put it away in the fridge for a couple days. BIG mistake! That next Tuesday, I had already seen it start to wilt but I was determined to finish it off regardless! That is why the mouth looks a bit strange on the left side. I carved out the eyes, the right hole, and then buckled down to put together the lighting electronics!

Planning and soldering the board.

I had already been doing some work with 555s and had them laying around. For the flashing eyes, I used the first web site to come up in Google for 'LED Tester' which happened to be an Instructables link. I put two white and a green LED in parallel together. Then with a 330ohm resistor in series with the LEDs, I just soldered it all across the terminals of the 9v battery I was using and that gave off great light on its own.

Everything lights up!

The last finicky part was getting the red LEDs to stay behind the eyes, all I did was put indentations in the flesh of the pumpkin for them to sit in. I covered the board with some tissue paper to hide it and improve colour, and Voila! My own scary Bender in a pumpkin!


To see all of the images from this project, check out my Picasa Web Album!

Monday, August 25, 2014

UPS Battery Expansion

Four batteries are used in stead of just one internally for this old APC backup power supply.  A basic plastic terminal block was picked up from a local commercial supply store, as well as 14-2 wire.  The wire's insulation was a bit thick to fit inside the terminal block slots, so I had to trim it out a bit.


Some spade termination plugs were used to plug into the UPS's existing battery connectors, and female end connectors were used to plug onto the extra batteries.  There is lots of wire slack in case it had to be moved around or if positioning in an enclosure were an issue.  Short answer, it wasn't, an enclosure was not used.


Not shown in these first pictures, but observable below, there are four lead outs in total, not just three.  There were some procrastination issues on finishing off the build in one weekend of just absently trimming wire leads and crimping ends.


Overall, the four battery rig will run my fluorescent overhead desk light for little under twenty four hours time.  I hadn't been in the room for a while when I noticed the juice left out after testing.  The original specs for the UPS indicate that it is designed to provide a late 90s / early 2000s computer power for about eight minutes, enough time to save documents and power it down.  My light would require significantly less then that, but I do not think it lasted for more than six hours on just the one battery alone.


Nice little experiment, but I'll probably put the UPS back to only one battery and enclose it as manufactured.  It works very well in a portable fashion when it can just be unplugged from the wall and carried around.  While it will only supply 3W of power, that's more than enough for phone chargers, lights, or the like.

Sunday, June 22, 2014

Acoustic Guitar Refurbish - Part 4 Final

After all the time and pictures, the guitar is bust and isn't playable.

I was able to get the neck attached and into a good shape.  Some wood glue and pressure was all I needed for it to span well.  I brought it down to the local music store to get some strings and tell them about my project.


On Saturday, the store had a promotion where with the purchase of a set of strings, a free setup was performed on the guitar.  On the first string, once it got up to tension the key snapped off.  Another key started to crack and spun uselessly.


So for a good few weeks, I found an old guitar which may have been able to be worked into something usable, but ultimately, not.  It was fun working to get the straight shape back in the guitar, and I learned a bit about the make up of a guitar.


I was suggested to make a percussive instrument out of it.  That would be neat, and it would be another use for it, but for now it's just clutter and junk.

Thanks for following along with me!  As usual, comments are welcome.  :)

Sunday, June 15, 2014

More with Unity; Animation in Blender

I've been looking at tutorials and more Unity content on the web, and that brought me back around to Blender.  I've tried this tool in the past, and while it looks amazing, I've never really gotten into it.  Going backing to browsing Unity material, I found a neat tutorial demonstrating the character model creation, skinning, and animating process.  It was pretty fun!  Took me several days to work it through, but I ended up with something I'm giddily proud of!  I should note that the author was pretty quick to answer some questions of mine, as well.  I was surprised at how recently this tutorial series was put out as compared to when I was looking for it.

UV map and textured character model.

The model was made in Blender, and then a map of the geometry was created.  I used GIMP to 'colour' in the map the way I wanted the skin to look, and then loaded that image back into Blender to apply to my model.

There are other steps including making and rigging a skeletal system which aren't shown, but I have included two images of the final piece, as well as a download link for the 'game' demonstrating the animation!

On the ground about to jump.

In the air having a blast!

As like the previous Unity post, if you download and run the program, use alt+F4 to quit!  Or use the x if running in Windowed mode.

    jumpyguy.zip ( 8mb )

Tuesday, June 3, 2014

Acoustic Guitar Refurbish - Part 3

Yesterday, Monday, I took the clamp off the guitar after sitting for a couple days.  I heard lots of small crackling as the wood released from the tension of the clamp.  It didn't splinter, but I probably should have soaked it before letting up the pressure.

After cleaning it up, I set to wetting the neck for another six hours, and then put it back to straightening it down on the desk.


Not much happened to report on this post.  I did notice that after the soaking, I could lift the body up and meet the heel of the neck where it had separated from.


What a friend of mine had suggested is I could drill a pilot hole through the heel into the support of the body and a wood screw should keep it together.  I'll definitely do this once I make sure the warp in the neck has straightened up some, so maybe by next weekend I'll try it out!  Looks like I have some direction to take this in that will speed up the process!

As usual, any ideas or suggestions appreciated!

Saturday, May 31, 2014

Fun with Unity3D

Today I made a functioning program with Unity!

It's very simple and glitchy, but I got the gist of it!  Imagine that you are a box, and as that box, you are able to roam around the land of North America, only drawn out as a Pokémon world map!  I wouldn't say it's an Easter Egg, but I made some activity up around Greenland.

You are the cube.

Let's see if a download will work!  Alt+F4 to exit 'cause there's no other way to close!

    firstunityprog.zip ( 13mb )

Wednesday, May 28, 2014

Acoustic Guitar Refurbish - Part 2

Today is Wednesday and I've been mostly letting it sit under clamps since last post.  Yesterday, Tuesday, I took it off for three hours to wrap and soak before putting it back down under a tighter pressure.  I also moved the body up to be pressed against the edge of my desk.  This allowed it to press closer in to the heel of the guitar, which I think is the biggest cause of the bowing.  Damage can be seen in the previous posts's pictures, but I took another to show how the neck had been pulling away from the bottom panel of the body while laying forgotten.

The heel of the guitar has pulled out from
the bottom panel of the body.

Against the desk, I tried to get a couple shots to show the position the neck is in, and also to show that the body is being pressed up, effectively being 'bent' back in to meet the neck where it should.  After several more days ( weeks? ) , if it looks to be staying less bowed, I'll glue the bottom panel closed and that should take care of the most severe warping!

Clamped down with more tension, less arch.


Instead of leaving the body hang completely free and not touch
the desk's edge at all, I moved it up so that it would push it up
to meet the heel of the neck where it had separated.

There maybe not be many posts for the next couple of days since it will mostly consist of waiting.  Any suggestions or ideas are welcome!  Feel free to comment below!

Monday, May 26, 2014

Acoustic Guitar Refurbish - Part 1

I recently rescued an acoustic guitar from my Grandmother's basement, ready to be thrown out with the spring cleaning.  It's dirty, warped, and with totally rusted strings.  Now, I didn't take a 'before' picture, and I thought about it, but I didn't think I would be blogging about the process.  I could only think about how I didn't like my camera and the photos it took wouldn't be worth it, but here I am!

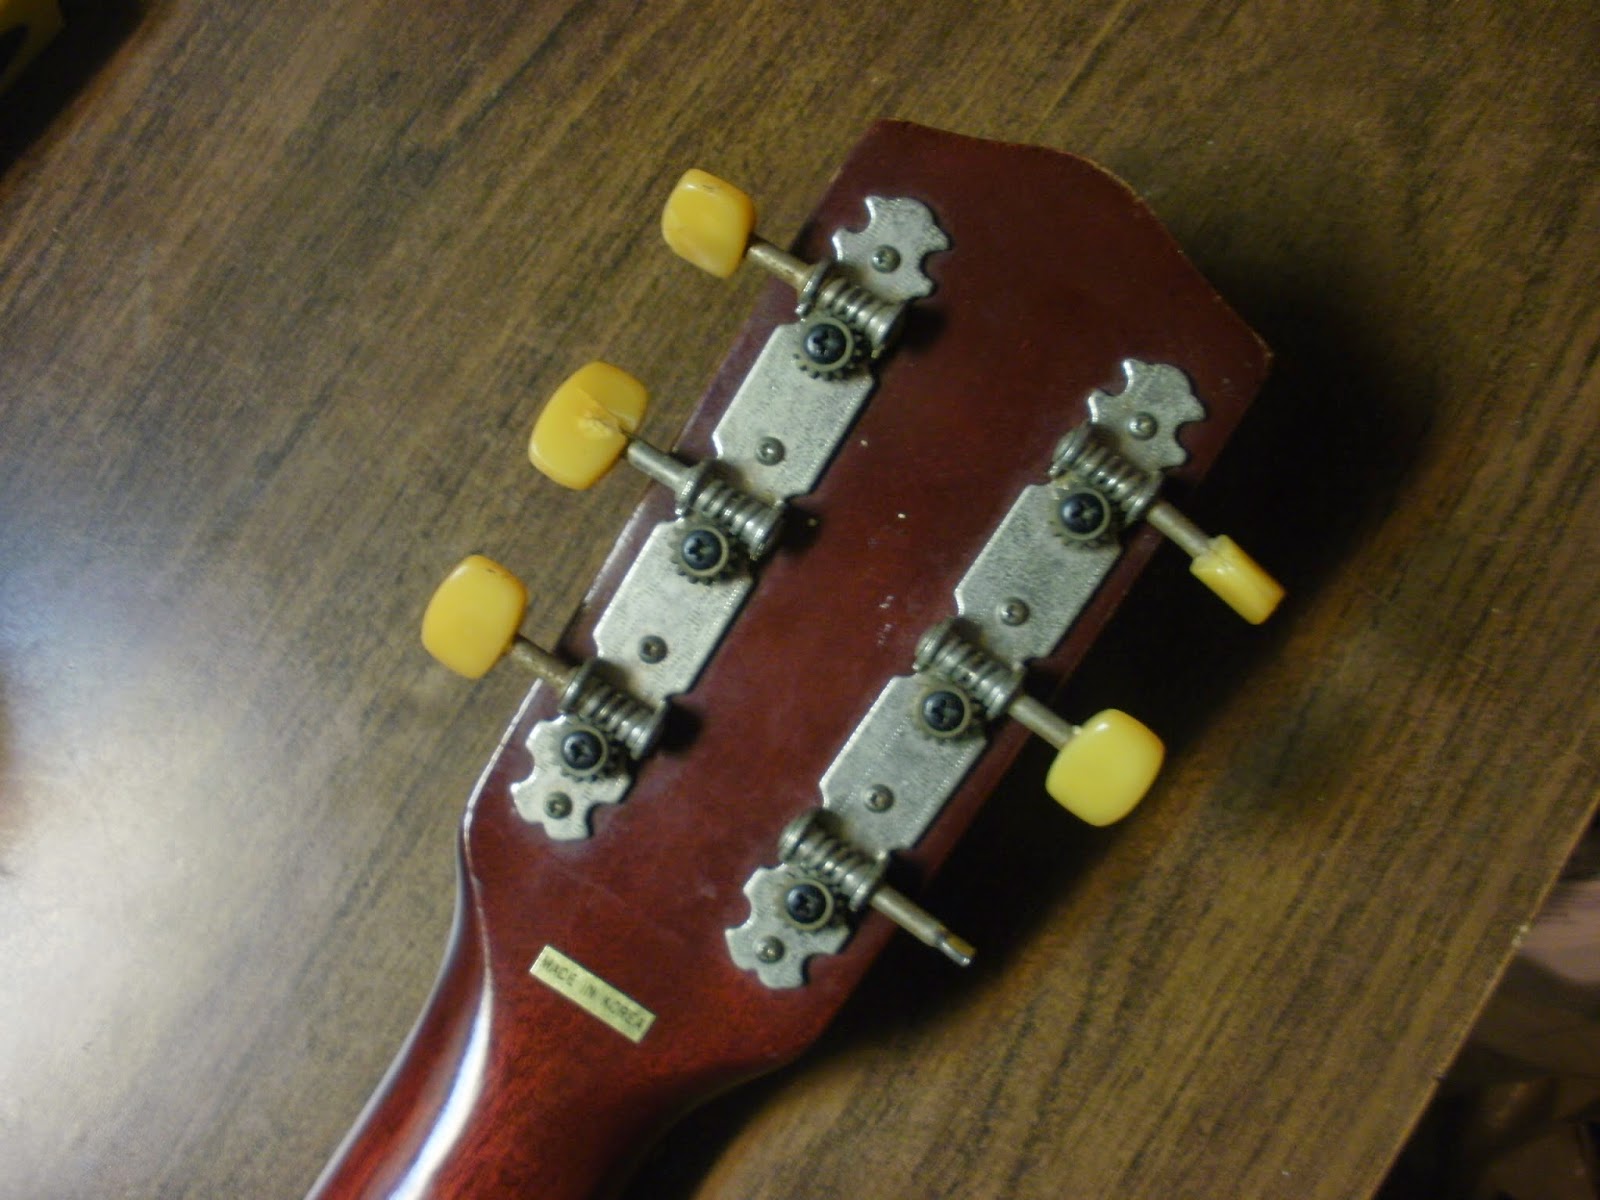
Some research alluded me to believe that it is a Vibra Model 55, which had a truss rod underneath a sticker saying Steel Reinforced Neck.  Alas, after some more inspection, I found out that it is a Model 18/6 , of which I couldn't get any information about, and peeling off the sticker revealed NO truss rod.

I should stop and say I've never done anything like this before.  I haven't even re-strung a guitar.  Doing a loose Google only revealed that heat and humidity are the most common perpetrators of a warped guitar neck, everything else suggested seeing a professional to fix anything.

First I cut the strings and give it another inspection after cleaning it up some.  I see that at the base of the neck where it attaches to the body on the bottom, the wood has separated from the bottom panel.  This makes sense, as the bow is in the direction of the strings that were on it, and this would have resulted in the force pulling the neck away from the body in that direction.  I gently applied some pressure to push it back in, and I could hear some bad noises coming from where the fret board attaches to the body on the opposite side.

Now comes the brainstorming.  I figure allowing the neck to absorb moisture would allow it to be reformed into its original shape without breaking.  Further Googling shows that the fret board should generally be very straight.  A friend of mine told me a small bowing is okay, too.  I have the flat surface of my desk, and I have access to some clamps which I can affix it to.  The body, which would normally be positioned in the way, I figure I can leave hang off the end.  It would still have to be 'eased' into a less bowed form, but I can work on that after the neck's been more straightened out.

I decided to soak a towel in hot water and wrap it around the neck of the guitar and the top part of the body.  I did this for six hours total, changing it once at the three hour mark to re-soak the tower and give it another small dose of heat.  I've been wringing the towel out so it is damp, not sodden.

Wrapped neck with damp towel for 6 hours.

 After the wait time, I wanted to put it under some pressure for over night and the next day.  In the last picture, the bow is observable, with the points of contact being the nut, the clamp, and the bottom of the fret board.  The body of the guitar is not resting on the desk at this point, the neck is the only part with force applied to it.


As of this writing, having all the previous activity happen yesterday, Sunday, I've taken off the clamp, re wrapped the neck to soak for three hours and will be applying the clamp for overnight, possibly several days.  I am only intending to increase pressure on the neck gradually, in the order of millimeters every day or so, depending.

I'd love to hear any recommendations on how to work this!  After getting to it, it seems that the most of the bow is actually caused from the bend of the body away from the neck where the wood separated.  That's what I'll be looking at after straightening the neck, I have good carpenter's wood glue for the task, some clamps, and weights, for when I get there!

Inaugeral Post, things to come!

Under prodding from a friend of mine, I have created this blog to document projects I am creating or have created.  Over time, I will move fun builds from my picasaweb album here, like the Bender-o-Lantern and others.

Stay Tuned!   ( Those in the know will get this little inside pun, for others, all will become clear! )

Tim S.